
The story of Yuri Denisyuk’s invention of this type of hologram is quite interesting, as he confesses to be inspired by a science fiction story! Link to Leonardo article. Although his proof of concept hologram was accomplished before the invention of the laser, he demonstrated the separation of the virtual and real images, plus white light reconstruction of the image, thanks to the configuration of the fringes. Because a laser is not required to reconstruct the image, this scheme has become one of the most popular types of holograms for the beginner, and a suggested starting point for the novice reading this site.
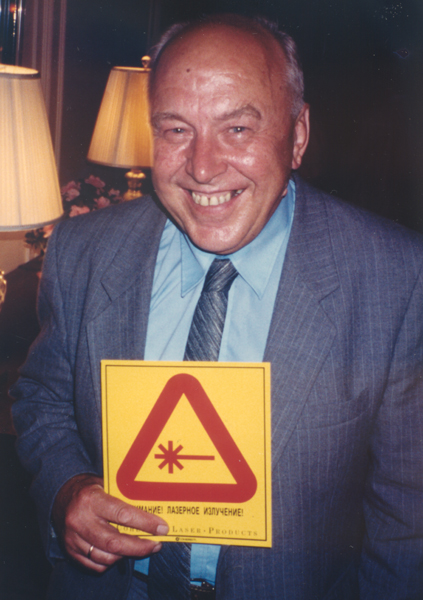
He is holding a "Danger! Laser Radiation" (in Russian) sign given to him by Art Swygard, local Coherent Laser sales representative,at a reception for him at Lake Forest College in 1989, and is flirting with my ex-wife, telling her "Now that I appear to be dangerous, maybe now the girls will notice me!" The proof of concept hologram is called Yuri's dice in his honor.
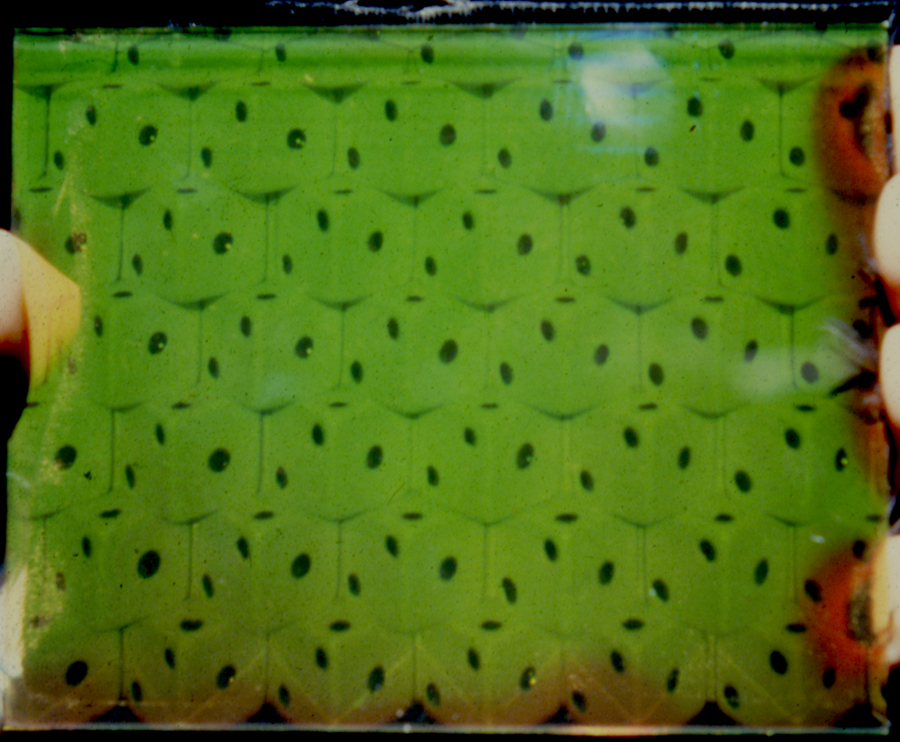
The humidity from the sweat of the hand holding the hologram has caused the emulsion to swell so that the reflected color becomes longer wavelength red (from the emulsion expanding like a sponge from the moisture) and even longer infrared replay, which niether our eyes or the camera are seeing. But after the hologram dries out, the color collapses back to green.
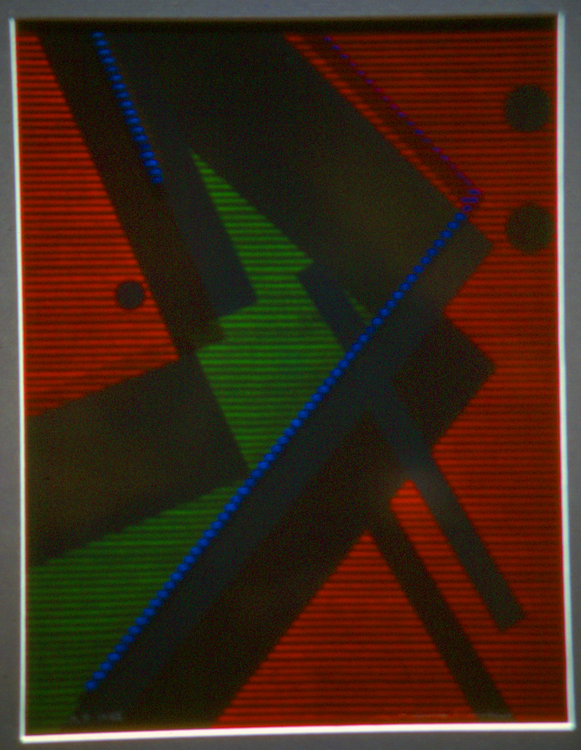
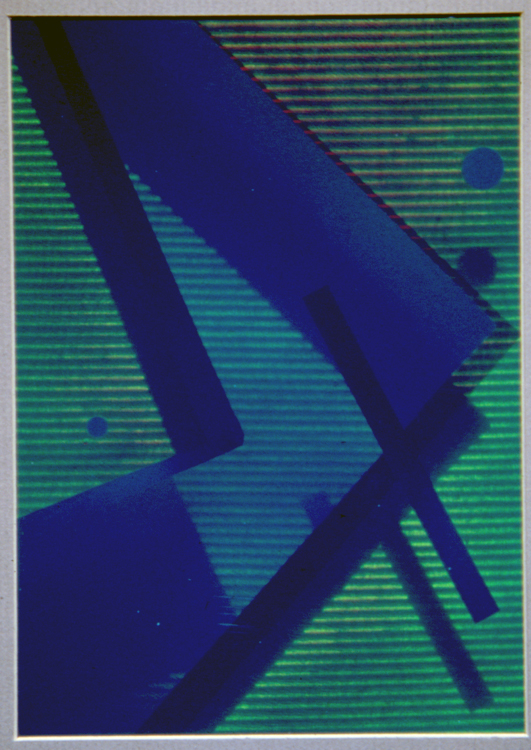
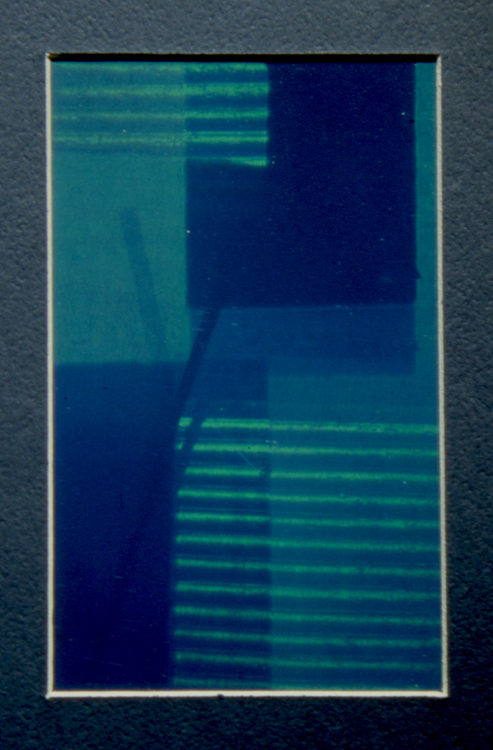
Here is an interesting art piece done using this the single beam reflection technique by Melissa Crenshaw, called Color Study. (Circa 1984 or 85.)
The object is a lot of dowels glued to a piece of wood, painted with gold leaf paint to make it highly reflective of Helium-Neon 633 nm light. It is placed in a big box that has slots along the inside so the dowel piece could be placed at various distances from the holographic plate in the front of the box. There is also a slot in front of the holographic plate for the insertion of masks, as demonstrated on the Big Beam below.

Changing the depth of the object and the mask between mutliple exposures, plus using the Triethanolamine Technique or simply changing the exposure can create various levels of color in an intriguing visual display.
Tape or stickers could be applied directly to the holo plate to cast shadows that get displaced by the various levels.
Here are a couple of the classroom handouts with step by step instructions I had written for making this set up in the sandboxes of Gallery 1134, and here are a couple of handouts to do the same on the metal tables at the School of the Art Institute of Chicago. Plus an article from holosphere, The Advocate for Holographic Arts, Science, and Technology of some interesting tricks to do with this technique from Jeff Blyth.
<back PROJECT 6: Denisyuk Holograms next>
<Introduction> <Equipment> <The Big Beam> <Project 1a: In-line "Gabor" type Holograms> < Project 1b: Off-Axis Holograms> < Project 2: Single Beam Transmission Deep Scene Hologram> <Project 3: Division of Amplitude Hologram> <Project 4: Pseudo-Achromat Transfer Hologram> <Project 5: Cylindrical Hologram> <Project 6: Single Beam Reflection Hologram> <Project 7: Image Plane Reflection Hologram> <Bonus Project 1: Diffraction Gratings> <Bonus Project 2: Holoroids>