An accurate and repeatable shuttering system is very helpful with these tests to initiate and terminate the exposures. The old fashioned way dating back to the ancient daguerreotypists (who simply removed and replaced a lens cap to fulfill their exposure obligations) would be to lift a card out of the path of the laser beam, with an eye on the clock. For the typical holographic exposures of multiples of seconds, a clock with a second hand or a stop watch is sufficient. Picking the beam blocker up off vibration isolation device before yanking it out of the beam’s path avoids vibrations being translated to the working surface, or better yet, having it located off the table, but nevertheless in the beam path.
The pulling out of the beam blocker may become tiring with attendant inaccuracies, so automated mechanisms would be more productively employed.
An electronic device called a solenoid, the devices that give the “clunk” of electrical car locks, can pull a cardboard beam locker out of the way. They can be powered by the appropriate voltage of wall wart. The switch on a power strip can turn it on or off instead of pulling it out of the wall, again manually timed. The most exquisitely quiet shutter I had ever seen was devised by the late great Rudie Berkhout who used a d’Arsonval movement from a classic VOM, so that when voltage was applied the meter pointer moved a flag out of the beam path.

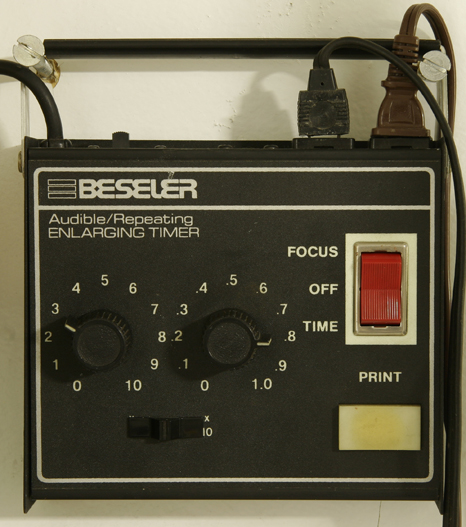
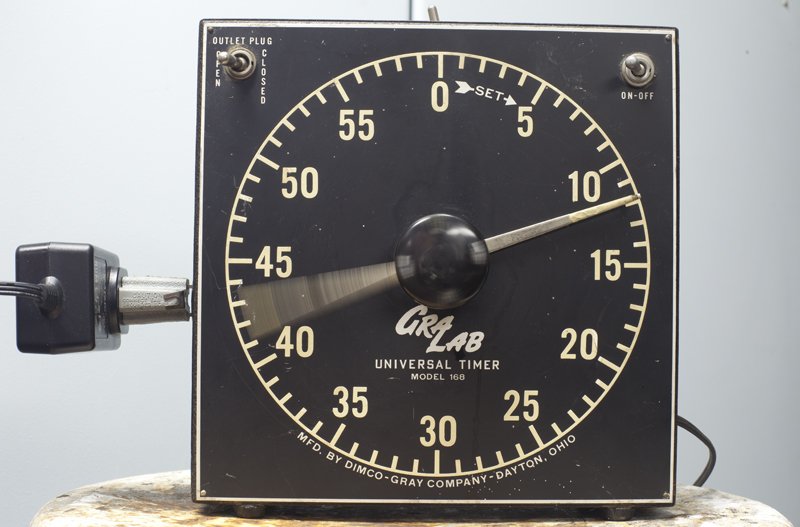
What would be the deluxe set up with one of these would be to have it electronically timed, using a darkroom timer, either of the enlarging type with durations of one-tenth of a second and upwards, or the classic backward running darkroom clock, a Gra-Lab Universal Timer. With so many chemical photographers getting out of the game, these timekeepers might be easily picked up at garage sales, etc. A timer hacked out of a microwave oven has even been implemented.
For fraction of a second timing (if you have that powerful of a laser!) an old-school SLR film camera can be placed in the beampath, with the back open and the lens taken off. Older mechanical cameras offer only the option of binary fractions, starting at 1 second, then ½, ¼, 1/8, 1/15 (instead of 1/16 since everyone likes number that end in 5’s or 0’s), 1/30, 1/60, 1/125, etc. CAUTION! Higher power laser beams might burn holes in the black coatings of the focal plane shutters.
Between the lens shutters could also be used, but with the lenses removed. The glass could be used as a beam spreader, but if they were left on the shutter housing there is the risk of the beam moving as the shutter is tripped. Cable releases will minimize the vibration transference. If salvaged off of older cameras, the times may not be of a binary type of timing.
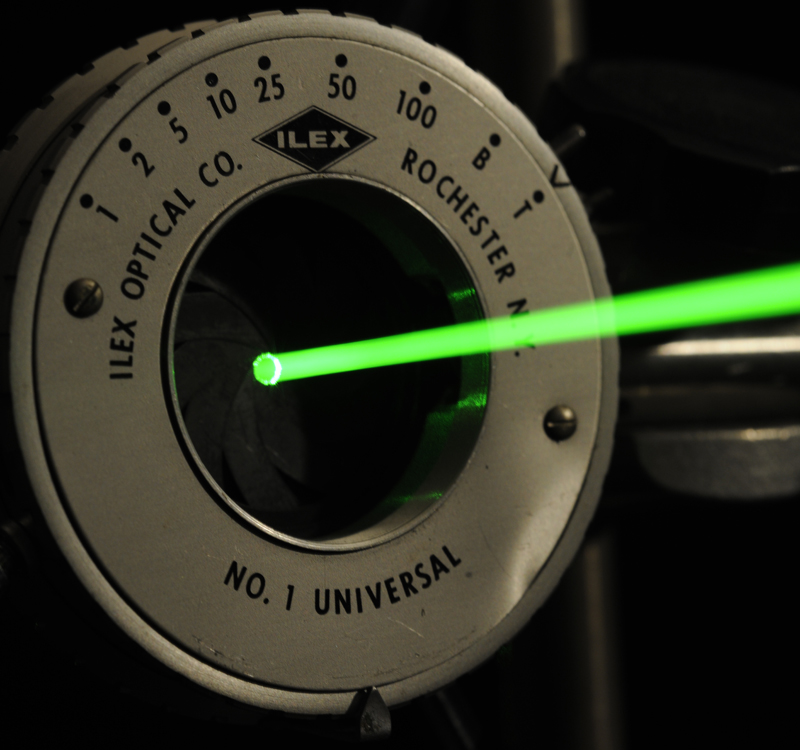
Of course, there are professional grade shutters, with aluminized blades for holding off high power lasers, like this one, which can time both exposure and setting time. I got this one for a song and a dance. (Eat your hearts out! Then again, how often do I use a millisecond?)
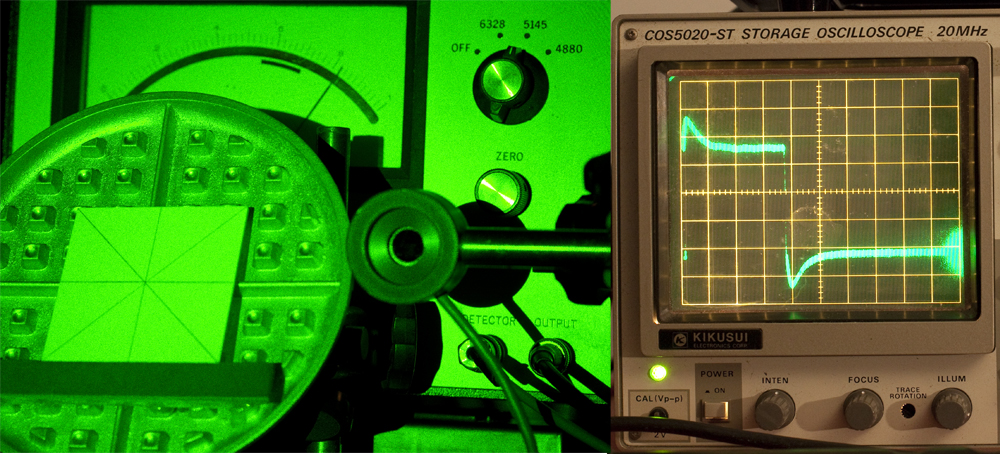
And if you really want to be jealous, dig this sweet set up: the UniBlitz shutter initiates the exposure, the Newport Power Meter's sensor sends a signal to the mighty Kikusui Storage Oscilloscope, and the exposure intensity and time are displayed on the 'scope's screen!
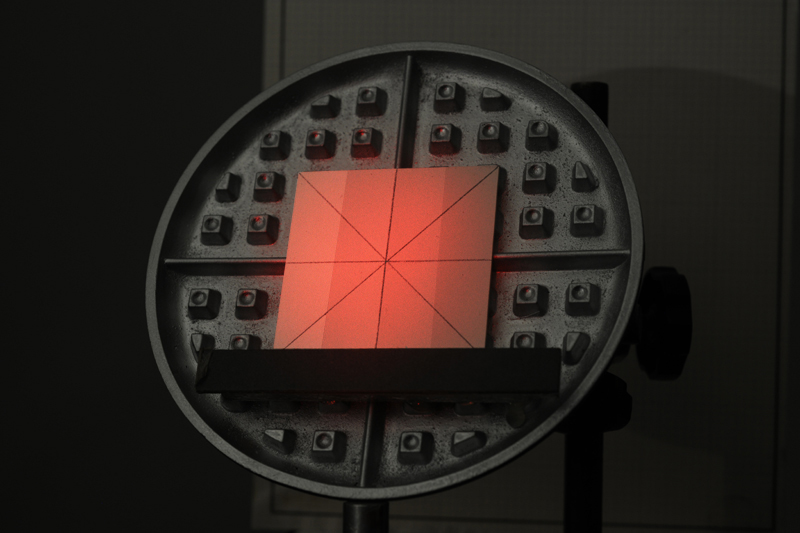
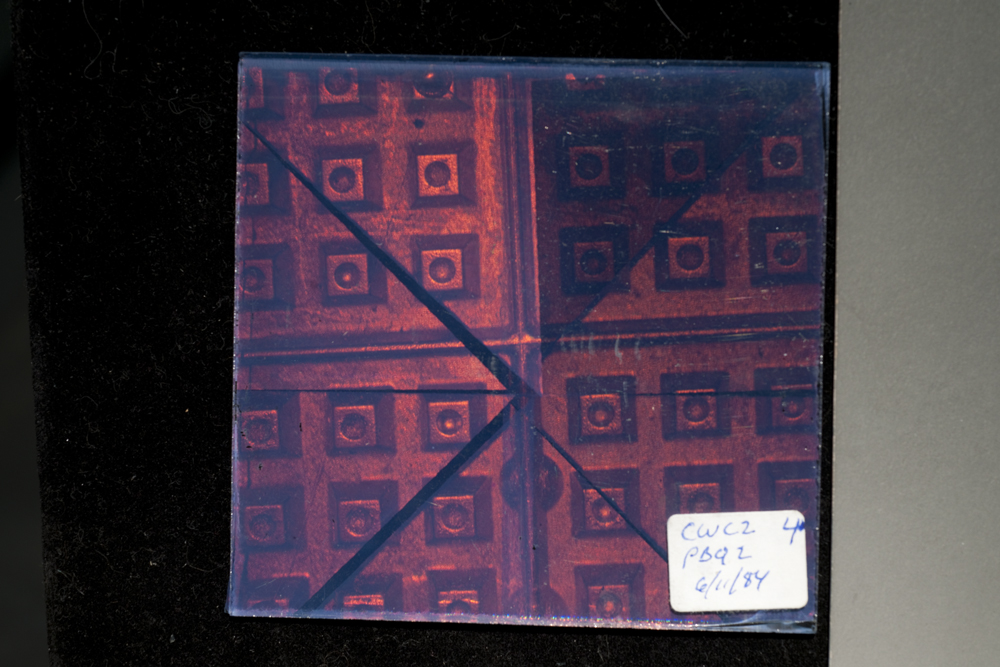
Here are the 4 positions of the test card at work. Remember to let the apparatus settle between each exposure.
An exponentially increasing series of exposure times is preferred as evidenced in the animation above. This is because the eye sees logarithmically; it looks for ratios between values, not absolute intensity. Notice the rhythm of the grey scale below; each step is twice or half as bright as the one next to it.

Photographers call this type of sequence the series of stops, based on 2 to the nth power, n being an integer. (Don’t forget, integers include zero and negative numbers, with 2 to the zero power = 1, and 2 to the negative first power = 1 over 2 to the first power or ½, 2 to the negative second power = 1 over 2 to the second power or 1/4, etc.)
For greater precision, use half stops. But the series doesn’t become 1, 1.5, 2, 3, but as bunch of numbers familiar to photographers as the f/numbers: 1, 1.4, 2, 2.8, 4, 5.6, 8, 11, 16, 22, 32, 45, 64… Every other number is doubled or halved depending on which direction you are going, and its root is the square root of two raised to an integral power! Here is an exposure series run in this manner.
Rotary motion of the blocking card is the best configuration to ensure that all test sections have similar intensities and not bias the results with uneven beam spreads. If a blocker were moved laterally, the edge exposures would not see the same amounts of light as the center strips illustrated below because of the radial intensity gradient caused by the Gaussian distribution of the laser beam’s power.