Hans wanted to go see a 3-D movie during this year's stay in Chi-Town, but the best we could find was The Adventures of Tintin in 3-D. I knew who the Cub Reporter for Le Petit Vingtieme paper was, having been introduced to his series of cartoons on Chicago's very own Garfield Goose the First, King of the United States (http://en.wikipedia.org/wiki/Garfield_Goose) kids' TV show when I was a youth.
My impression even at that tender age of the boy reporter/detective was "totally lame". (These cartoons must have been cheap to acquire, as other animated features that ran on this show on a notoriously cheap local channel. Only big, fat, friendly Frazier (Thomas, the host, who dressed in some sort of para-military outfit) spoke, the puppets didn't, as they would have had to pay the puppeteer as talent for speaking, but they got away with stage hand wages for just sticking their hands up the sock puppet. The puppet had been on display at the Chicago Museum of Broadcast Communication, filthy with decades of arm sweat up the goose's neck. They have since been dry cleaned with the opening of the new Museum. Other examples of low budget cartoons aired on the show were Clutch Cargo (http://en.wikipedia.org/wiki/Clutch_cargo) and Space Angel (http://en.wikipedia.org/wiki/Space_Angel), products of Cambria productions, with the revolutionary but cheap animation technique of "Synchro-Vox" having actual actors' mouths superimposed on drawings.
So we took a pass on the 3-D movie, although Hans confessed that he had a copy of Tintin's second book, Tintin in the Congo, which I should investigate to rethink my impression of Herge's enfant terrible, as it has been banned in many countries, and moved the party into the much more intellectually challenging environment of the Studio and put another one of Belgium's contributions to the world, the waffle iron, to good use. (Plus a liberal application of their fermented grain beverage, Blue Moon beer, although not imported, it is a primo example of Belgian style wheat beer, especially taste with a slice of orange in it.)
Thus the Winter of 2012 adventure starred a couple of holographic photopolymers recorded in the green. Hans had a couple of sheets of Polygrama Photopolymer coated on Darol plastic by what was left of Kodak of Rochester, and I still had some samples of Bayer Photopolymer, so we decided to put them to a head to head test. The Krylon Bright Silver #1401 painted waffle iron was irradiated with a flux of 500 microWatts per square centimeter at 532 nm from the bad ass little Coherent Compass C-315, so we exposed both of them for 60 seconds apiece to satisfy their 30 milliJoules per square centimeter thirst for photons.
A Closed Circuit Television Camera was set up to look at the setup during exposure. Although this sounds extravagant, I typically set up this CCTV camera to look at the plateholder during exposure to ensure that everything is hunky-dory. It has saved plates when only one beam is arriving at the plateholder, and one time when I thought I didn't need it because I was in a rush I ruined a bunch of plates, as I couldn't see that when I put the Styrofoam panels around the table I accidentally pushed a blocking card partially into the reference beam path.
The CCTV set up gave us a surprise treat of a show; we could see the materials bleaching during exposure! The bright Gaussian center cleared first, and after a few tests we just left the plates on until they seemed to clear no further.
A word to those who have never worked with holographic photopolymers; these materials usually come coated on a carrier, and a liner covers the active side until it is laminated to glass. Sounds so easy, just peel off the liner, and roller it down onto glass with a brayer, rolling pin, what have you.
The "devil is in the details" as always. You will notice in the samples plenty of different colored or blank regions. This is caused by my bad laminating technique. Even though I cleaned the glass well beforehand, dust mites made their way onto the glass and caused bumps in the laminate, sometimes exhibiting themselves as different colored areas in the Polygrama, and black spots on the Bayer. The black spots were probably caused not by film movement, as the film as thick, but it cannot be definitely ruled out, but more than likely by air trapped in the area of no contact, with the oxygen inhibiting or denying polymerization in these anaerobic materials.
When the Polygrama photopolymer plate was removed from the object, a very weak hologram was apparent. Oh no, we thought, another holographic boondoggle. But the instructions mentioned not a post bake, like DuPont polymers, but simply (or better, quote from instructions) touching the hologram to a hot piece of metal for a few seconds. A new one on both of us.
So I put a chunk of aluminum in my Toast-R-Oven (Don't you just love how the English language is perverted for consumer items!) at 450F, not sure of what the temp really was, removed the aluminum pate and touched the piece of film, (having been detached from the glass substrate), to it, and Voila! It incredibly got bright!
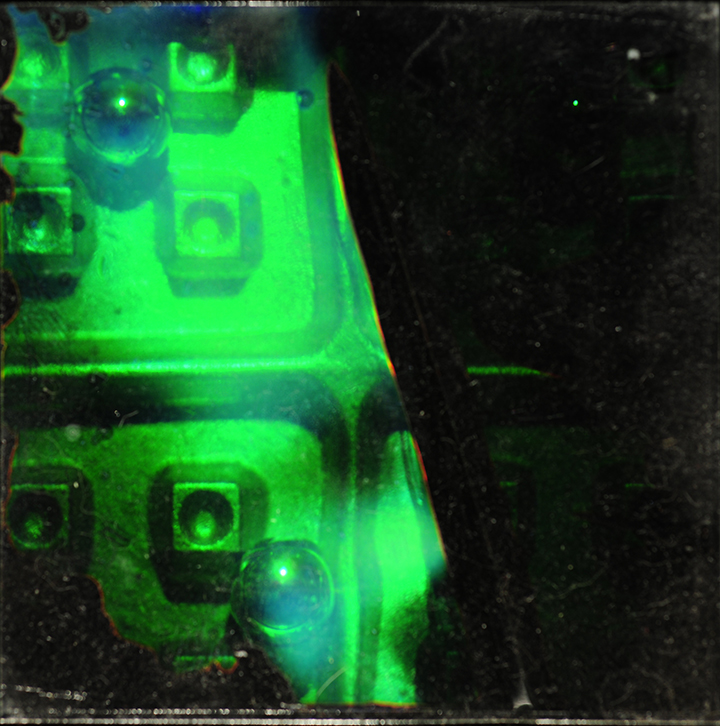
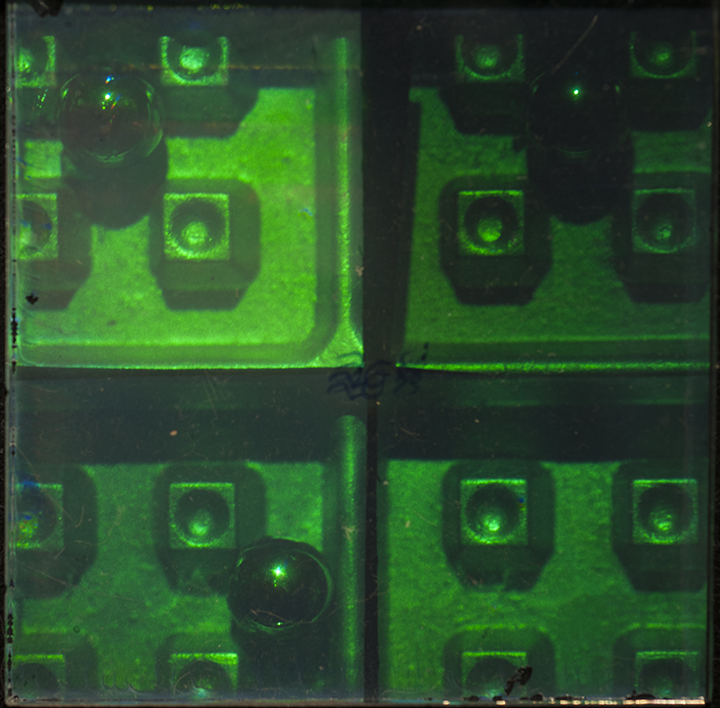
We knocked off a few more, and were consistently amazed at the magic of whatever is going on in the emulsion to increase the modulation to get these really bright holograms, like DCG as the instructions say. This image shows off how poor my laminating technique is, having creased the film while laminating, but my quick wits took advantage of this defect by heating just half of the film, so you can see the major improvement made by the heat treatment!
You can barely see any image on the right, which did not touch the hot plate. The poor lamination caused the wrinkle in the image, might be a new venue to pursue for creative art holography.
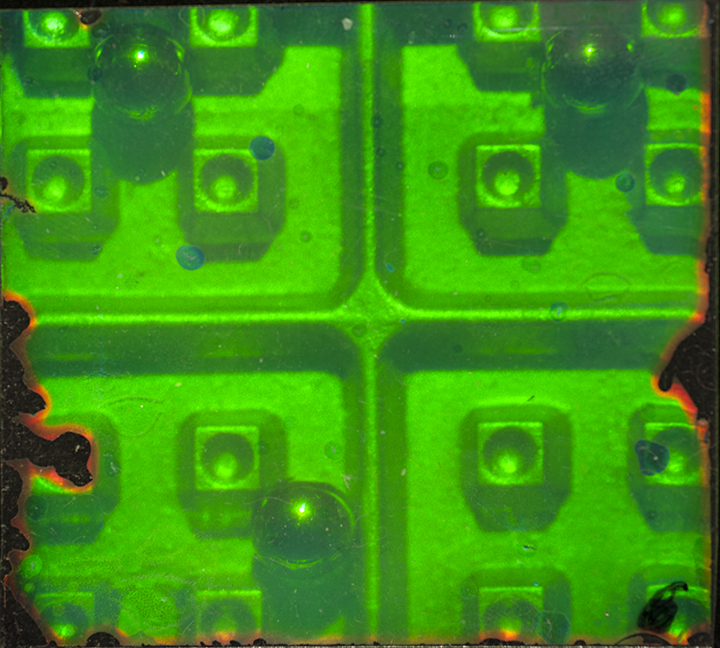
The color is not shifted, which is great. The noise level might be a tad on the high side, but I am willing to write that off as my heating technique might need to be better controlled, like finding the proper temperature for the correct amount of time. But we agreed that this material definitely has a future, if we could only get our hands on more of it! Below is the best of show with this material. Definitely need more practice with the laminator!
Please send me more! Preferably for free, but how much do you want for it?
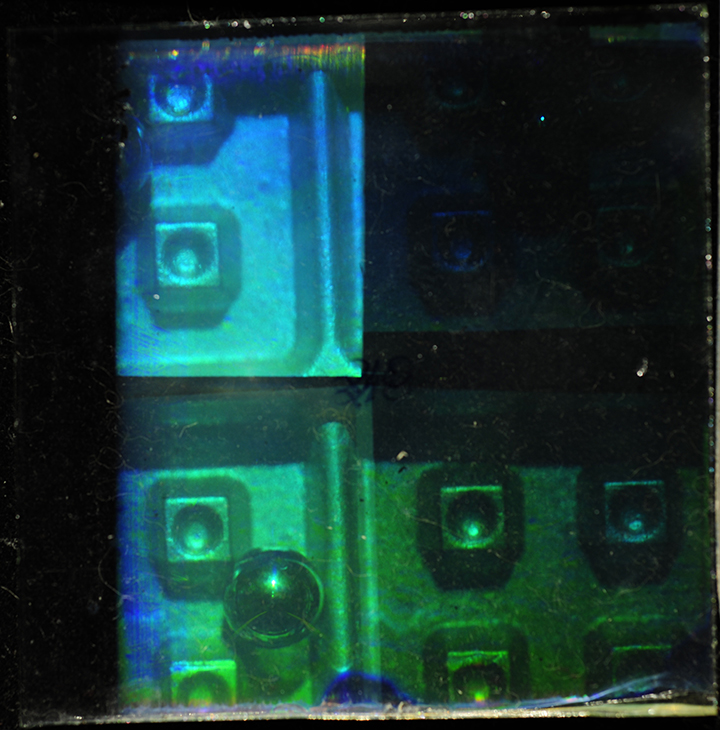
Since the waffle iron was out, and the laminating station was ready, we slapped some Bayer Photopolymer on some more glass. This material does not need a post-exposure heating; after exposure, wait a while and give it an overall blast of light to polymerize any remaining monomers. Sometimes I just put the film on the object and come back minutes, or even hours, later, letting the laser light completely polymerize the fringes.
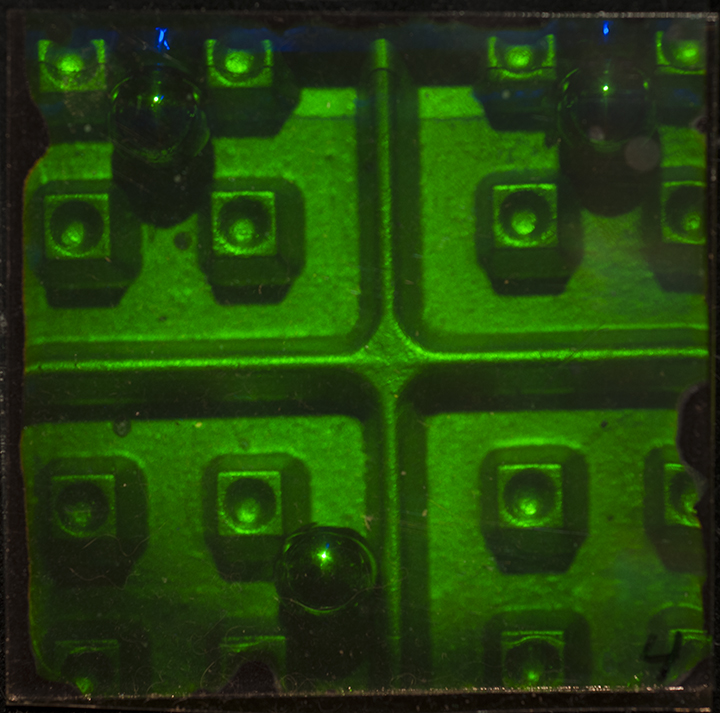
In the photo above, it does not look as bright as The Polygrama, nor what is to follow. In real life, it looks the most solid, as it has a great signal to noise ratio, viz. the shadow areas on the object. Many observers say they like this hologram the best out of the quartet below.
The Polygrama material might also reach these levels of signal to noise in the hands of its inventor or by someone who has a chance to tweak the process. But a lot of its apparent higher brightness is in the hazy white noise, again look at the shadows in the holographic image.
Since the green laser was cooking the waffles, I did another side by side comparison of a couple of other green sensitive holographic recording materials, Gentet's Ultimate U08 Green material and the star of the topic of the previous Adventure of Hans and Ed, the cold water process applied to Sphere-S GEO-3.
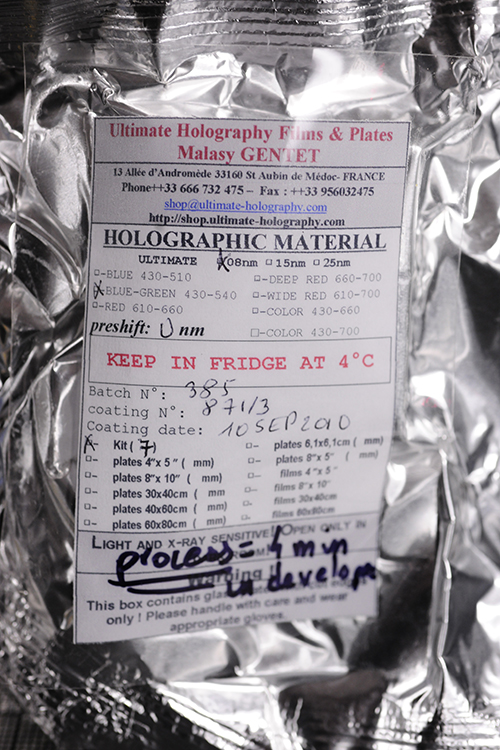
I had acquired the Ultimate material as a gift from Arturo Perez Mulas who visited my lab when he was vacationing with college chums near Chicago. I discovered a drenched box on my doorstep when returning from a long night of teaching, and wondered what the heck it was, especially when it had come from France via snail mail. The box almost melted in my hands, but the contents were well protected; the plates were vacuum packed in slick mylar pouches, and the chemistry was in sealed bottles, so all's well that ends well.
The first plate on the iron got an exposure series of 200, 400, 800, 1600 microJoules^2, as I couldn't find on the web site was the exposure dose was supposed to be, although mention of 200 mJ/cm^2 was applied to the red sensitive material. 800 looked the best, quite a surprise, as I would have expected the expo to be up more in the 1000’s of microJoules/cm^2 like the Sphere-S in the cold process.
But the beauty of this material is not just in the emulsion, but the synergy of the chemistry. If you notice on the packaging, the handwritten note says to develop for 4 minutes, which is a great feature to me, as it shows that this stuff was tested and found that this was the optimal development time! It would be nice if other companies took the time to do the same!
Since I had the chemistry ready, I exposed a GEO-3 plate with a similar exposure series and processed it identically to the Ultimate. It too looked good, although I still struggle with drying marks as can be seen.
Here are all four materials at the best we could wring out of them under the conditions, photographed next to each other. Top row, Polygrama Photopolymer, Bayer Photopolymer, both exposed for > 30 milliJoules per square centimeter. Lower row, Ultimate U08 Green, GEO-3, both exposed at 800 microJoules per square centimeter, developed 4 minutes in Ultimate Developer.
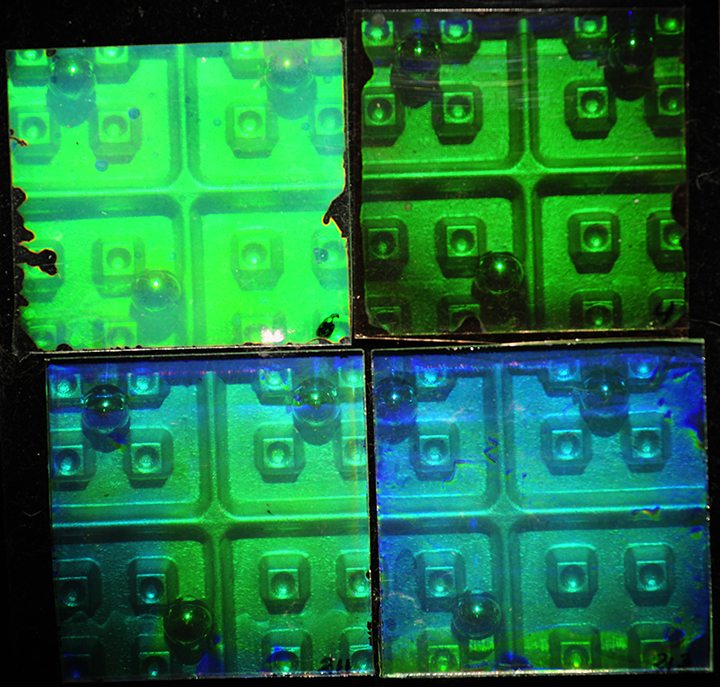
Pretty amazing! The Polygrama looks the brightest but noisiest. Unfortunately the two silver halide materials are plagued by streaks and scratches and color smears, but they hold their own with the polymers as far as looking "solid", using only about 1/40th the amount of light! The world of holographic recording materials has never looked rosier!